

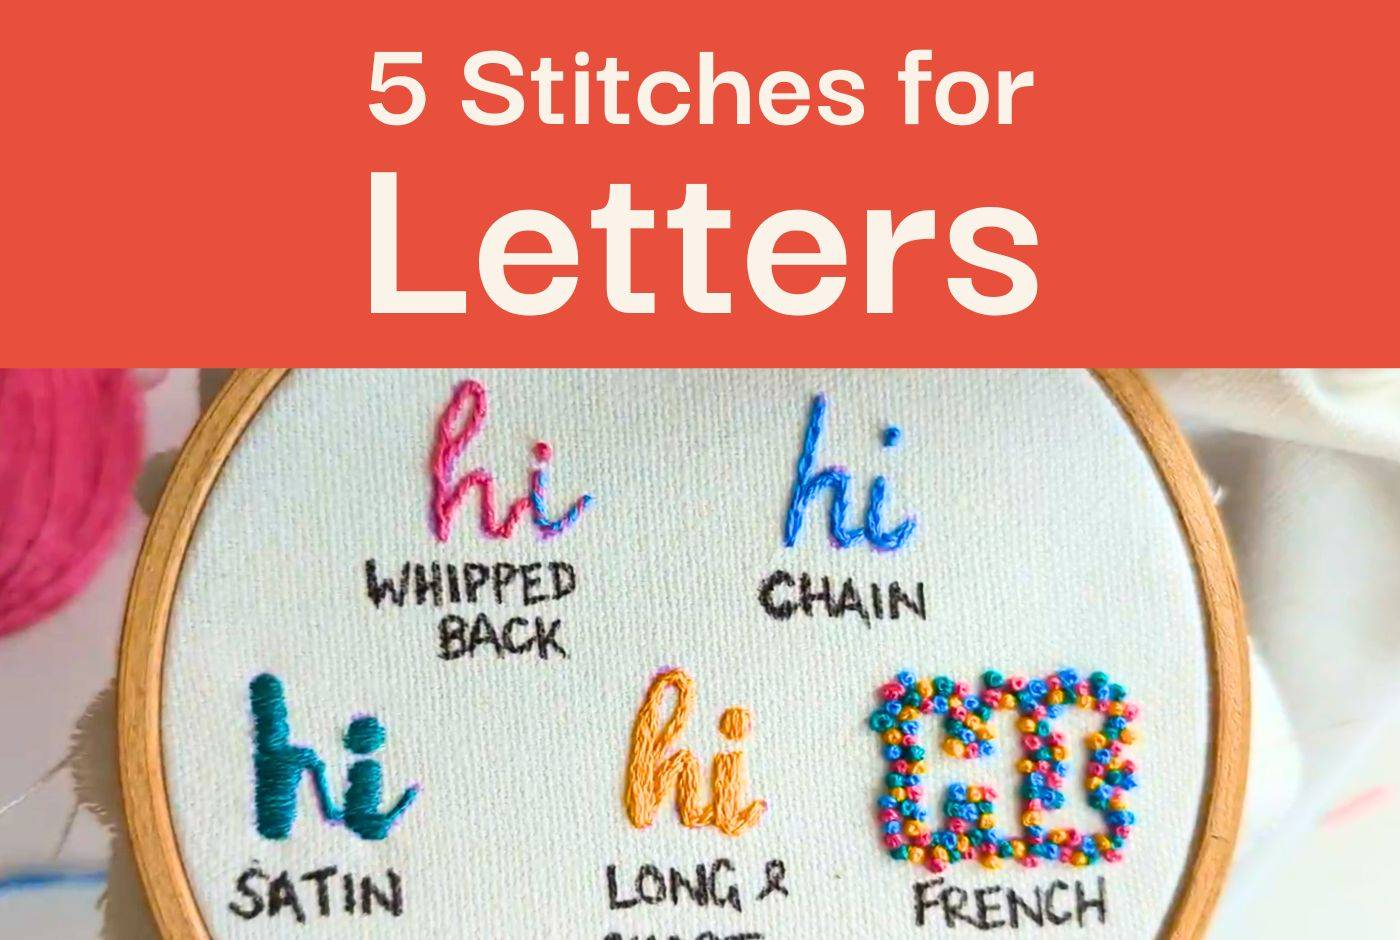
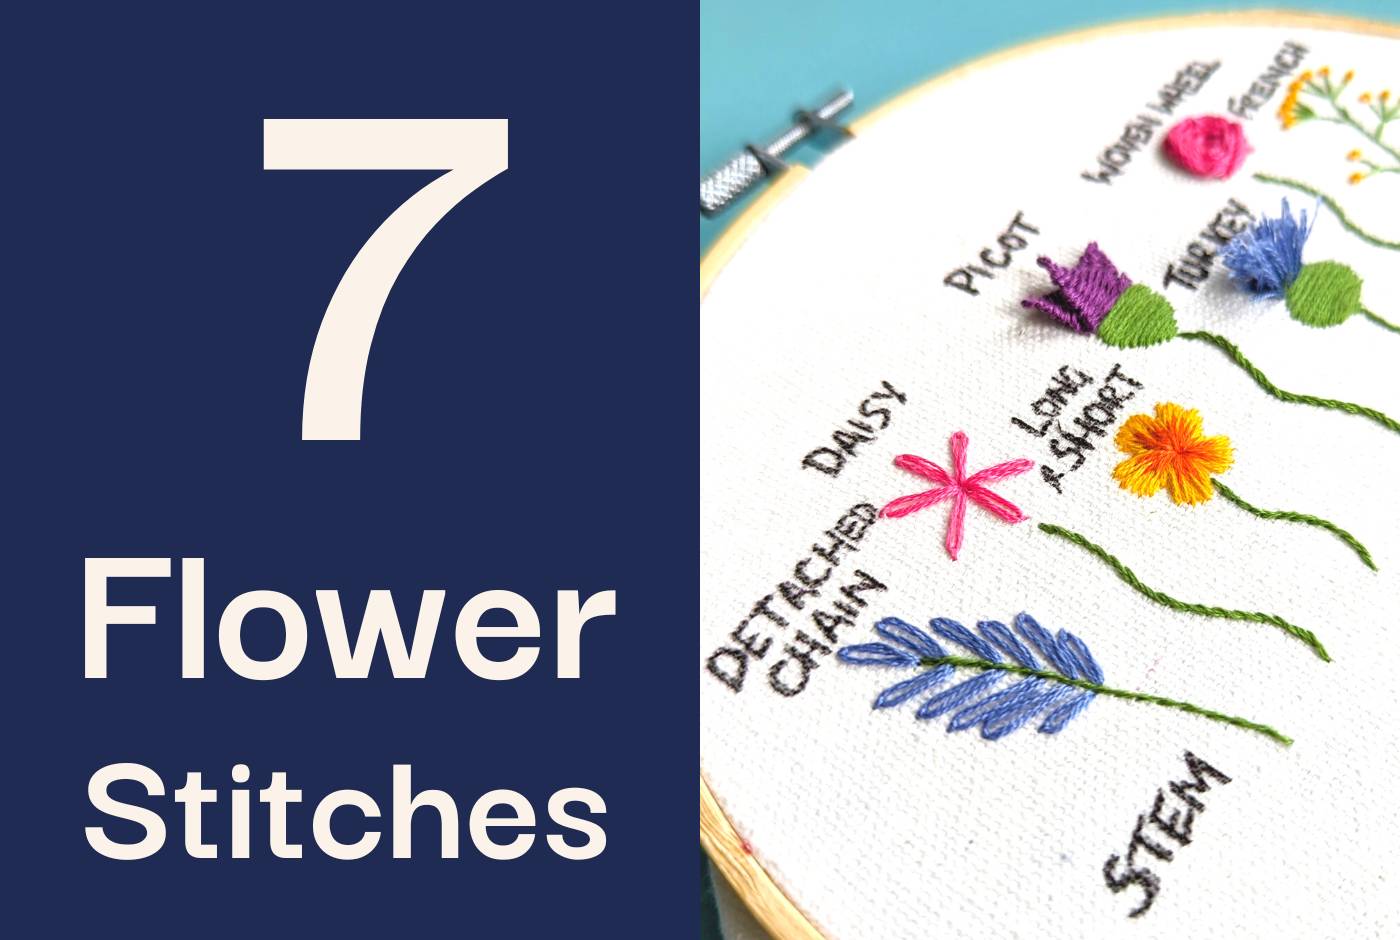
Learn how to do a Lazy Daisy Stitch in Hand Embroidery - this is a really cute one for creating flowers and other small details.
Instructions (given in video):
- Come up in the spot where the centre of your daisy will be. Then go back down the same hole, leaving a good-sized loop - don't pull it tight!
- Bring your needle back up at the spot where the end of a petal will be.
- Make sure your needle goes through the loop, and that the loop is lying flat. Pull (but not too tight!).
- Make a tiny stitch - just a millimetre - to anchor it down. That's your first petal.
- Repeat - come up in the middle, then back down in the same place, leaving a loop. Come up at the end of a petal...go through the loop, and pull. Anchor it with a tiny stitch.
- If you accidentally pull your loop too tight, just use the end of your needle to pull and loosen it.
You can make daisies with as many petals as you like - I tend to do 5, 6, or 8.
If you've got any questions, add them below and I'll get back to you as soon as I can!


Angela
June 04, 2022
Thank you for your video.